Every household should have a first aid kit—but that doesn’t mean you need to spend a fortune on pre-packaged versions. In fact, you can build your own kit at home for less, using basic supplies …
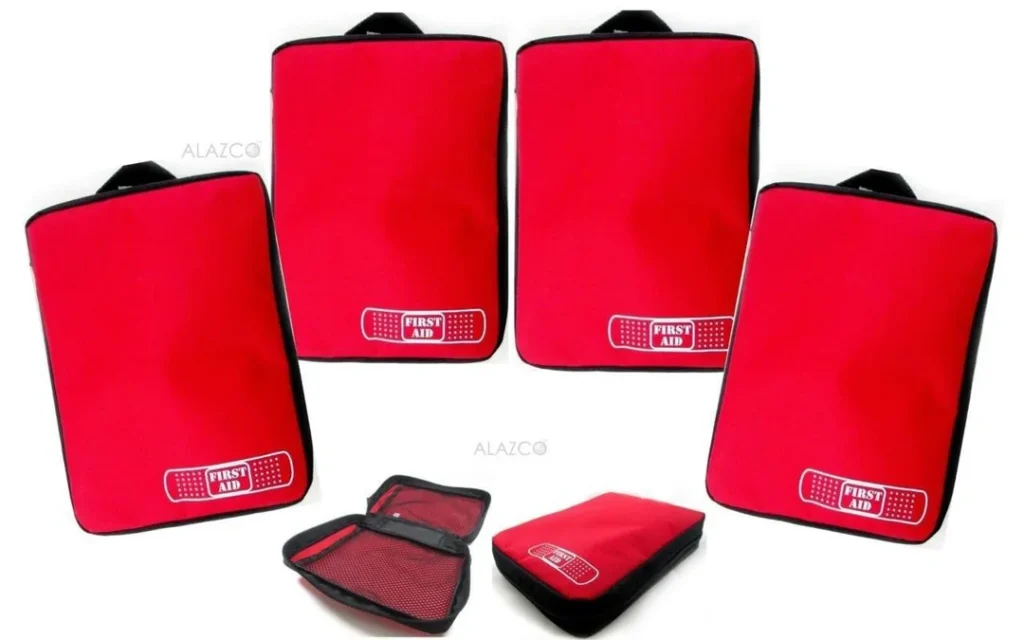
How to Make a DIY First Aid Kit on a Budget
July 3, 2025
Every household should have a first aid kit—but that doesn’t mean you need to spend a fortune on pre-packaged versions. In fact, you can build your own kit at home for less, using basic supplies from your local drugstore or even dollar store.
A well-stocked DIY first aid kit keeps you prepared for minor injuries like cuts, scrapes, burns, and sprains, and gives you peace of mind in everyday situations.
Here’s how to create a budget-friendly kit that still covers all the essentials.
1. Start with a Simple Container
You don’t need a fancy box. Repurpose:
- A plastic food storage container
- A makeup bag or travel pouch
- An empty lunchbox or pencil case
Choose something portable, easy to open, and big enough to hold your supplies without being bulky.
2. Stock Basic Wound Care Supplies
These are your must-haves for treating everyday cuts and scrapes:
- Adhesive bandages (assorted sizes) – $1–$2
- Gauze pads or rolls – $2–$3
- Medical tape – $1
- Antiseptic wipes or alcohol pads – $1
Look for generic brands to save money—they work just as well as name brands.
3. Add Low-Cost Medications
You don’t need a full pharmacy—just the basics:
- Acetaminophen or ibuprofen (children’s and adult versions) – $2–$4
- Allergy relief tabs (like diphenhydramine) – $1
- Hydrocortisone cream (for rashes or bug bites) – $1
Buy smaller travel-sized tubes or bottles to fit easily in your kit.
4. Include Multi-Use Tools
A few budget-friendly tools can make your kit more effective:
- Tweezers (for splinters or ticks) – $1
- Scissors (small medical or nail scissors work) – $1
- Non-latex gloves – a few pairs for protection – $1
- Digital thermometer (optional but useful) – $5–$10
If your budget is tight, prioritize tweezers and gloves first.
5. DIY Cold Pack Option
Store-bought cold packs can be pricey. Instead, use:
- A resealable plastic bag and sponge – soak the sponge, freeze it, and store it in a bag
- A clean sock filled with rice – microwave for 30 seconds for a warm compress
Reusable and almost free!
6. Make It Kid-Friendly (Optional)
If you have children, add:
- Cartoon bandages for comfort
- A dosing chart for medications by weight
- A small toy or sticker sheet to distract during first aid
These small touches go a long way when emotions are high.
7. Label and Organize It
- Use zip-top bags to separate items by category (wound care, meds, tools)
- Label each section with a marker or sticky label
- Include an index card with emergency phone numbers and medication instructions
Keep it in a central spot (like the kitchen or bathroom), and make sure all caregivers know where it is.
If symptoms get worse or don’t improve, visit your local urgent care provider for professional evaluation.
Hey Did You Know We Have an IV Therapy Spa Inside? Check out our drip menu!
affordable emergency kitat-home emergency prepbudget first aid suppliescold pack DIYDIY first aid kitdollar store first aidemergency tool kitfamily safety on a budgetfirst aid for kidsfrugal health tipshomemade first aid kitlow-cost medical kitOTC meds budgetpain relief kitportable first aid kitsaving on first aid itemstweezers and bandageswhat to include in a kitwound care supplies cheap